
🖥️ Windows Basic Tutorial (Clash Flow)
This chapter will help you quickly get started with Clash Flow, a powerful Windows proxy client with a clear interface.
If this is your first time using it, Clash Flow can help you easily import your subscription and use encrypted proxy access with system-level proxy support.
⚙️ What Is Clash Flow?
Clash Flow (CF) is a powerful and user-friendly proxy client for Windows.
It provides:
- One-click subscription import
- Automatic node updates
- Flexible routing rules and manual node switching
- Speed tests, startup on boot, and system proxy settings
🖥️ Step 1: Download and Install
- Open your browser and visit the Clash Flow download address.
- Go to Download
- Minimum supported system: Windows 10 x64. Windows 7 x86 and earlier systems cannot install or use this client.
- Double-click the installer and follow the prompts to complete installation.
Tip: If you have security software such as 360 Security Guard, 360 Browser, Kingsoft Antivirus, or QQ PC Manager installed, uninstall it before installing the client.
🔗 Step 2: Import the Subscription Profile
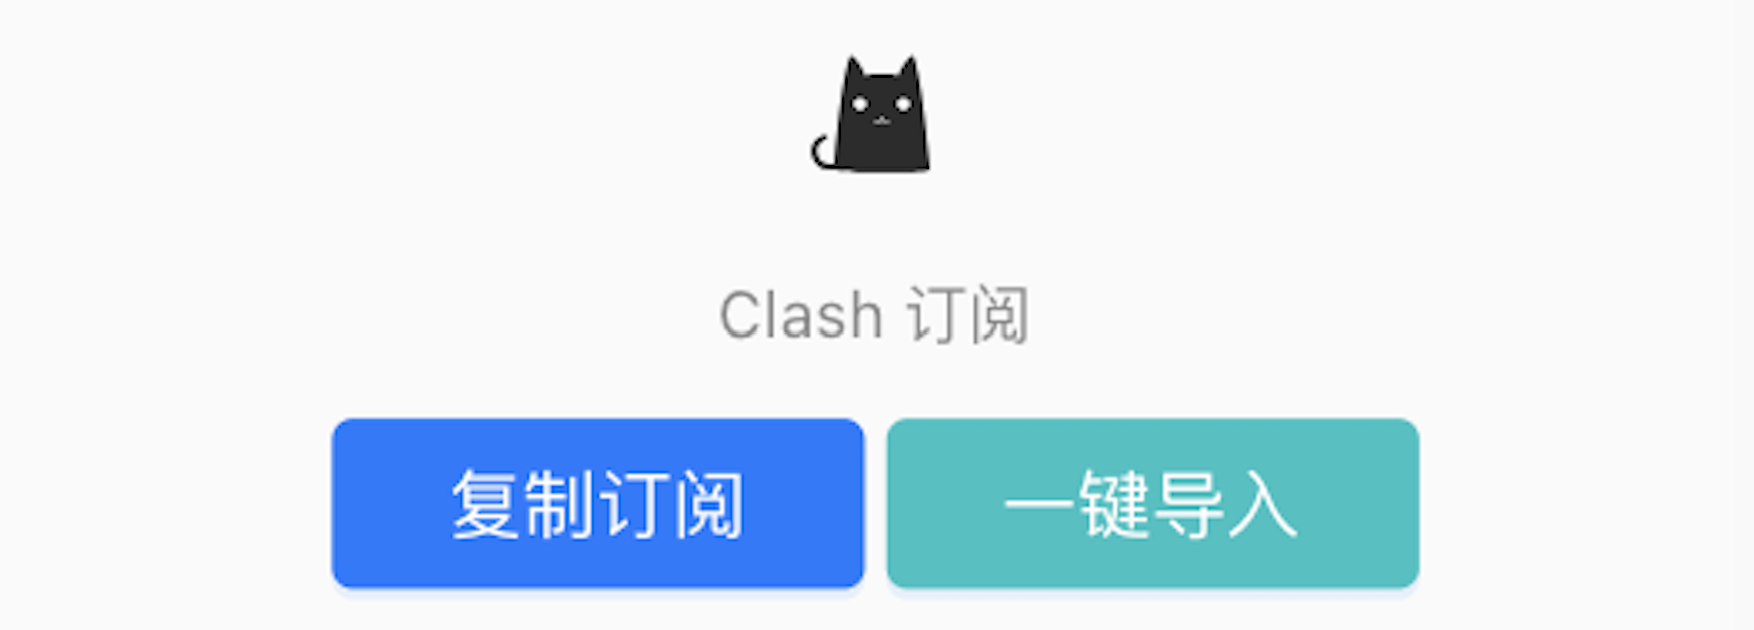
- 👉👉👉 On the official website Dashboard, scroll down to Third-Party Client Subscriptions. This area is not shown if you have not purchased a plan.
- Click Clash Subscription to import with one click.
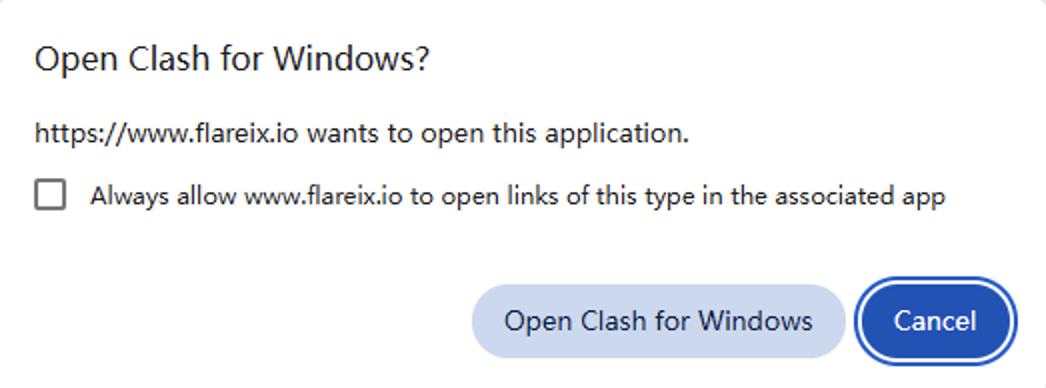
- Your browser will redirect and show a pop-up asking whether it is allowed to open the client. Please allow this action.
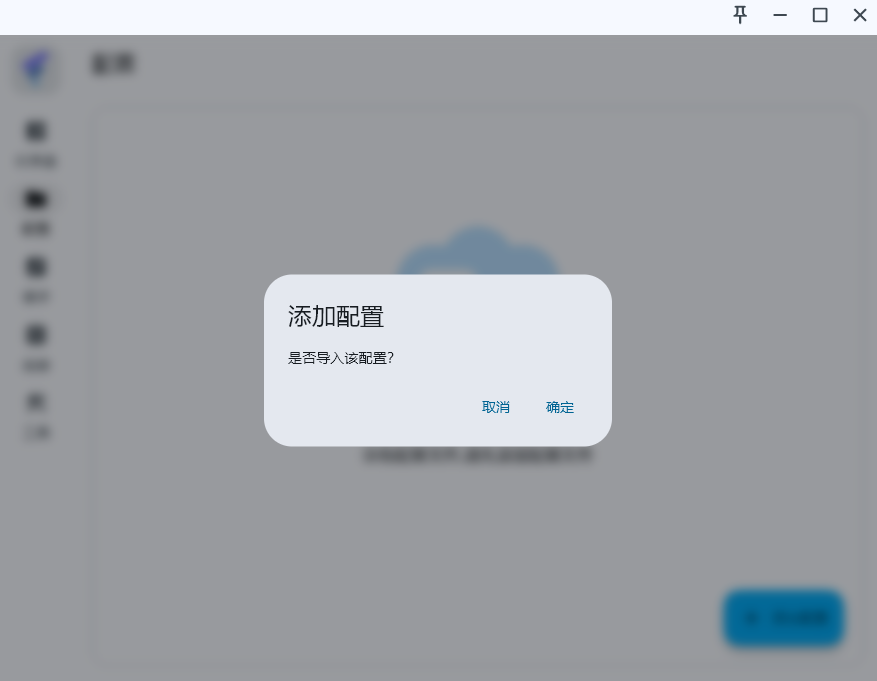
- The client will open automatically. After a moment, the Profiles page will show Add Profile. Click OK to import it.
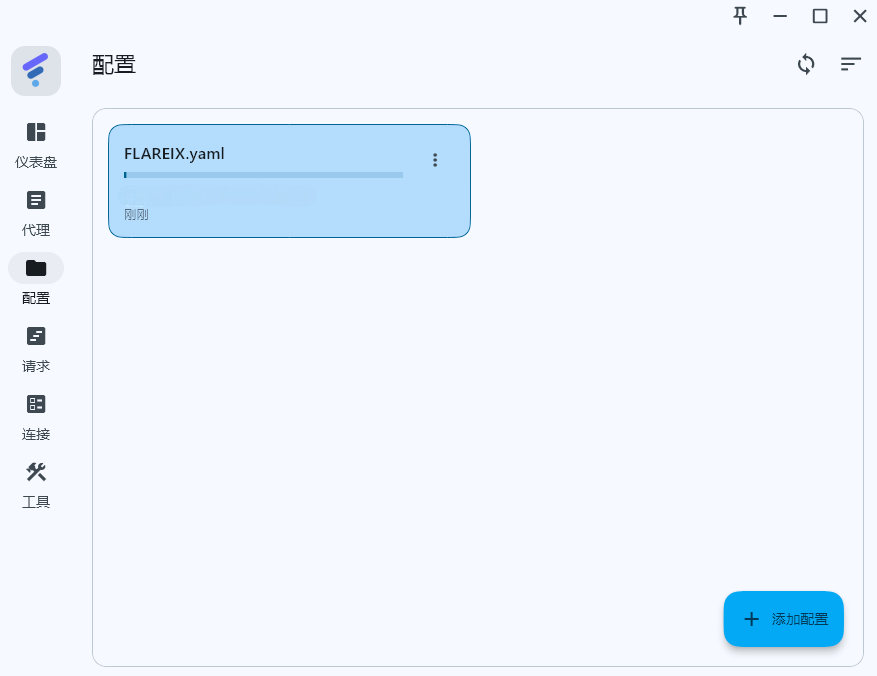
- Select the imported subscription profile.
- If it shows "Import failed", try switching between wired network and Wi-Fi. If the one-click subscription import link cannot open the client, switch to Google Chrome or Microsoft Edge.
View image tutorial
Tip: 👆 The image tutorial above shows the steps clearly.
🤭 Step 3: Start Using
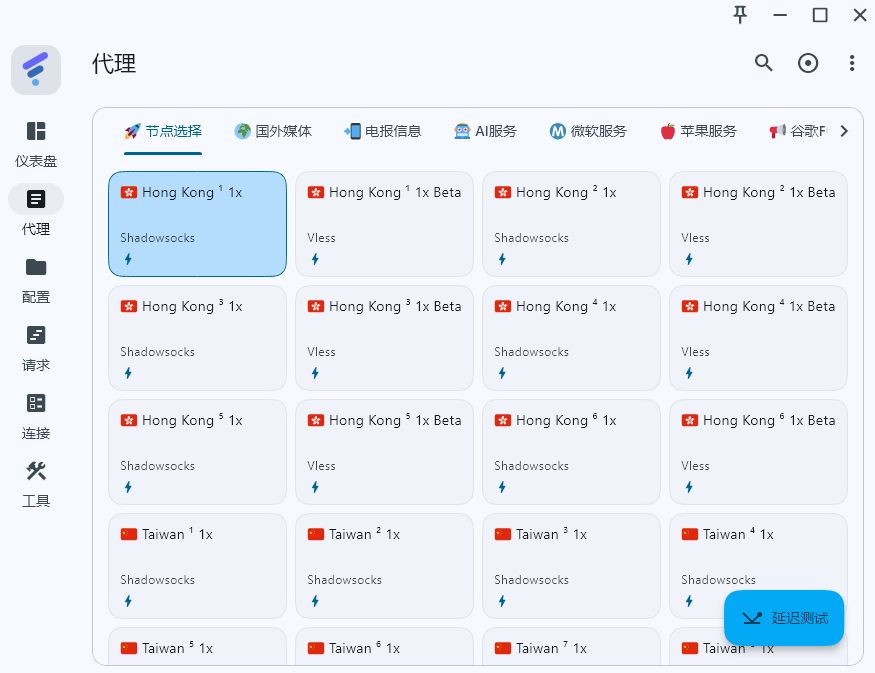
- Open the Proxies page in the sidebar. It will show all strategy groups and node information. If nothing appears, check whether the imported subscription is selected.
- On the Proxies page, select the Node Selection strategy group.
- In the Node Selection strategy group, choose a regional node you want to use.
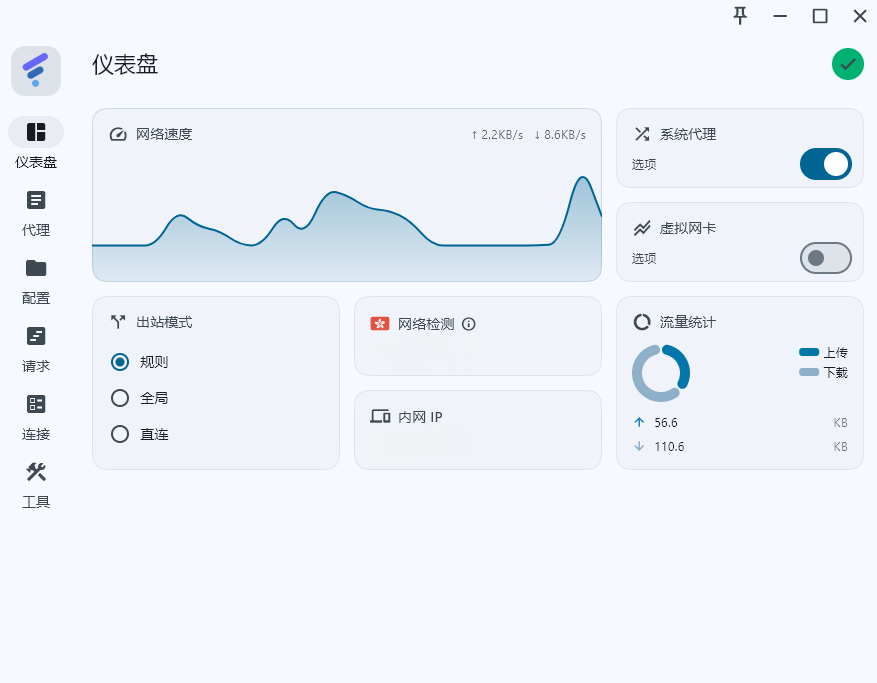
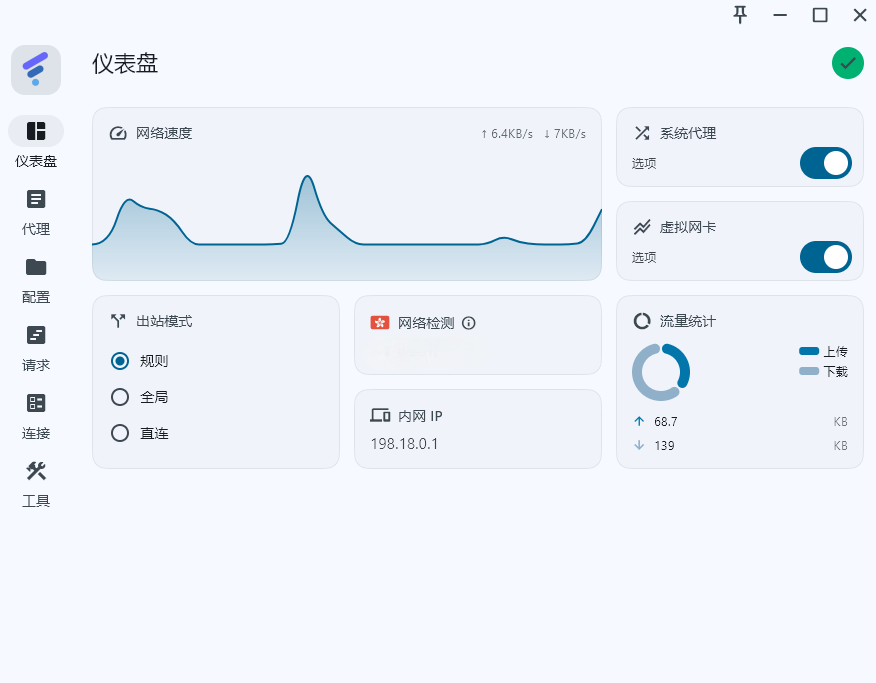
- Go to the Dashboard page and choose the Rule outbound mode.
- Turn on the System Proxy switch. The tray icon in the lower-right corner will become colorful.
- Open google.com and try it.
View image tutorial
Tip: 👆 The image tutorial above shows the steps clearly.
💡 FAQ
Why are nodes unavailable?
- Due to protocol characteristics, the device system time must be within 2 minutes of the local standard time.
- If the time difference is too large, subscription updates, node connections, or authentication may fail. We recommend enabling automatic date, time, and time zone settings.
What do Rule, Global, and Direct mean?
- There are 3 different options on the Proxies page in Clash Flow.
- Rule: After selecting this option, Clash Flow uses built-in rules to automatically determine whether your current usage scenario needs a proxy. This setting is recommended.
- Global: After selecting this option, Clash Flow stops using built-in rules and all traffic uses the proxy. Use this setting carefully.
- Direct: After selecting this option, Clash Flow will not use the proxy in any scenario. This has the same effect as closing Clash Flow, so there is usually no need to use this setting.
How do I update subscription nodes in Clash Flow?
- Nodes are updated from time to time. If they are not updated promptly, the service may become unavailable. Updating the subscription also refreshes the nodes.
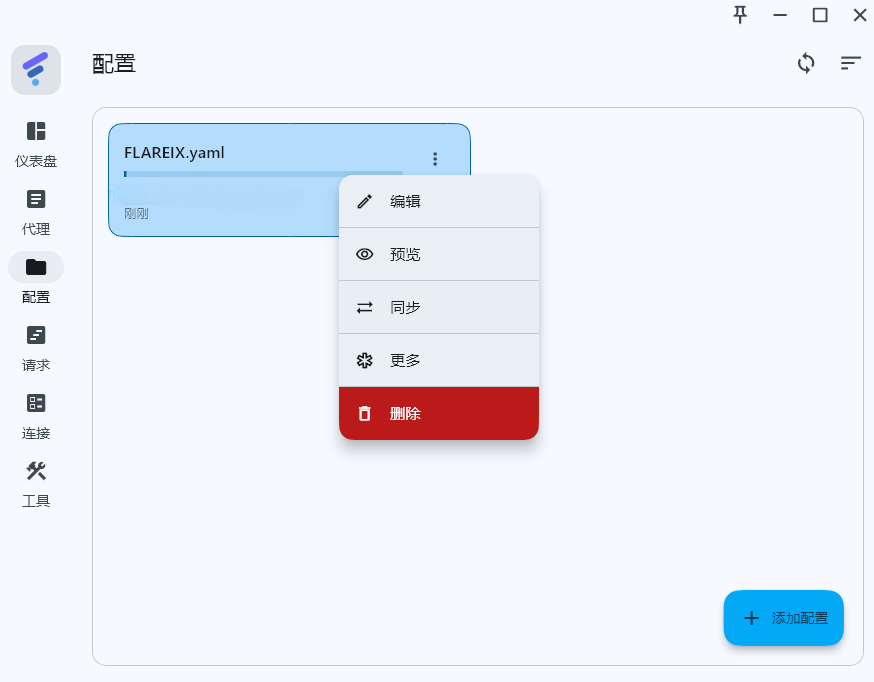
- The Profiles page will show the FLAREIX subscription profile. Click the sync button on the right, then wait until it shows "Just now". This means the subscription nodes have been updated.
How do I check whether a node is available?
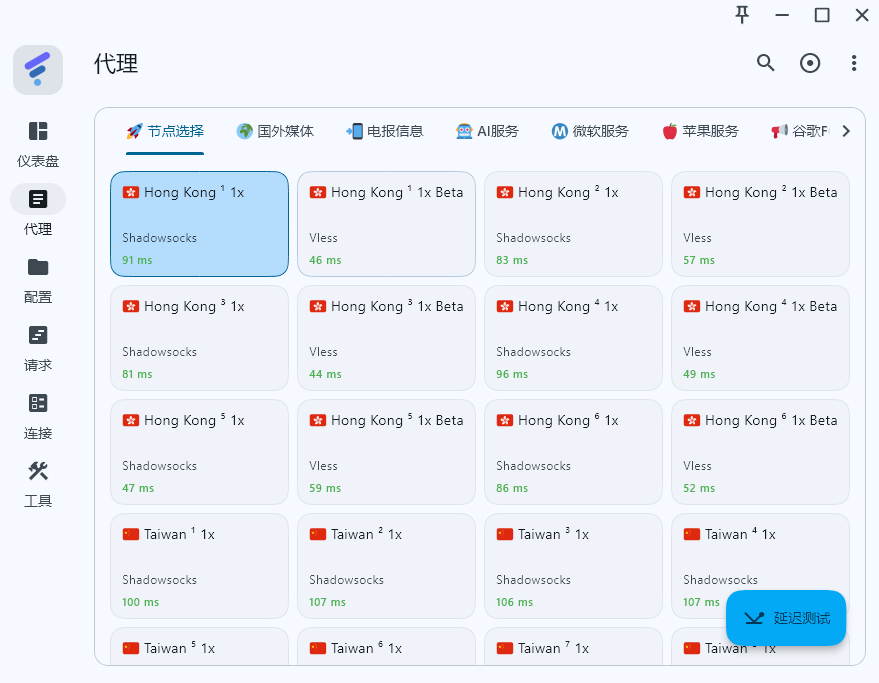
- Click Latency Test in the lower-right corner of the Proxies page. Node latency will begin to appear one after another.
- Nodes that do not show failed latency can be used. You can click Node Latency Test multiple times for a more accurate result.
How do I use TUN mode for system-level proxying?
- TUN Mode is currently one of the strongest, most universal, and most complete transparent system proxy modes. It can route traffic from all apps, including apps that do not support system proxy settings or cannot otherwise be captured.
- On the Dashboard page, turn on System Proxy, then turn on the Virtual Adapter switch to enable TUN Mode.
- After it is enabled successfully, the LAN IP address will change to the Virtual Adapter address. The first time you enable it, a black CMD window for the Helper injection program may appear. This is normal.
This concludes the basic Clash Flow tutorial. To learn more, please read the other chapters.